This past week has been a whirlwind of travel, meeting new people, and trying to get ready for the show next month. Just noticed that I have 100 Followers for this blog!- thanks for your interest and here’s to showing you work that continues to grab your attention. 
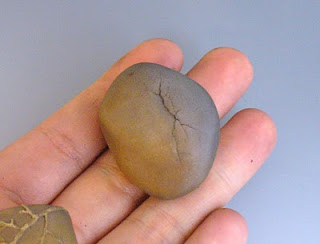
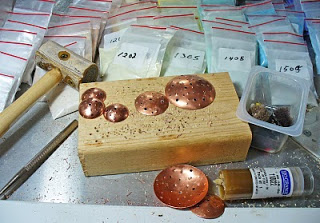
 Met up w/ some wonderful beady people over the weekend and look forward to our next Carolina Firefiend meeting. One member generously let me borrow her Jim Moore press since my Impress Bead Liner was too slim to fit my big beads inside to core and cap. (these three beads above are a few I’ve done so far, before running out of bead caps) Another is going to tumble etch some of my hollows to see how it compares to my usual acid etch method.
Thank goodness my wonderful cousin is nearby and willing to babysit my little man, making it possible for me to go to these meetings.
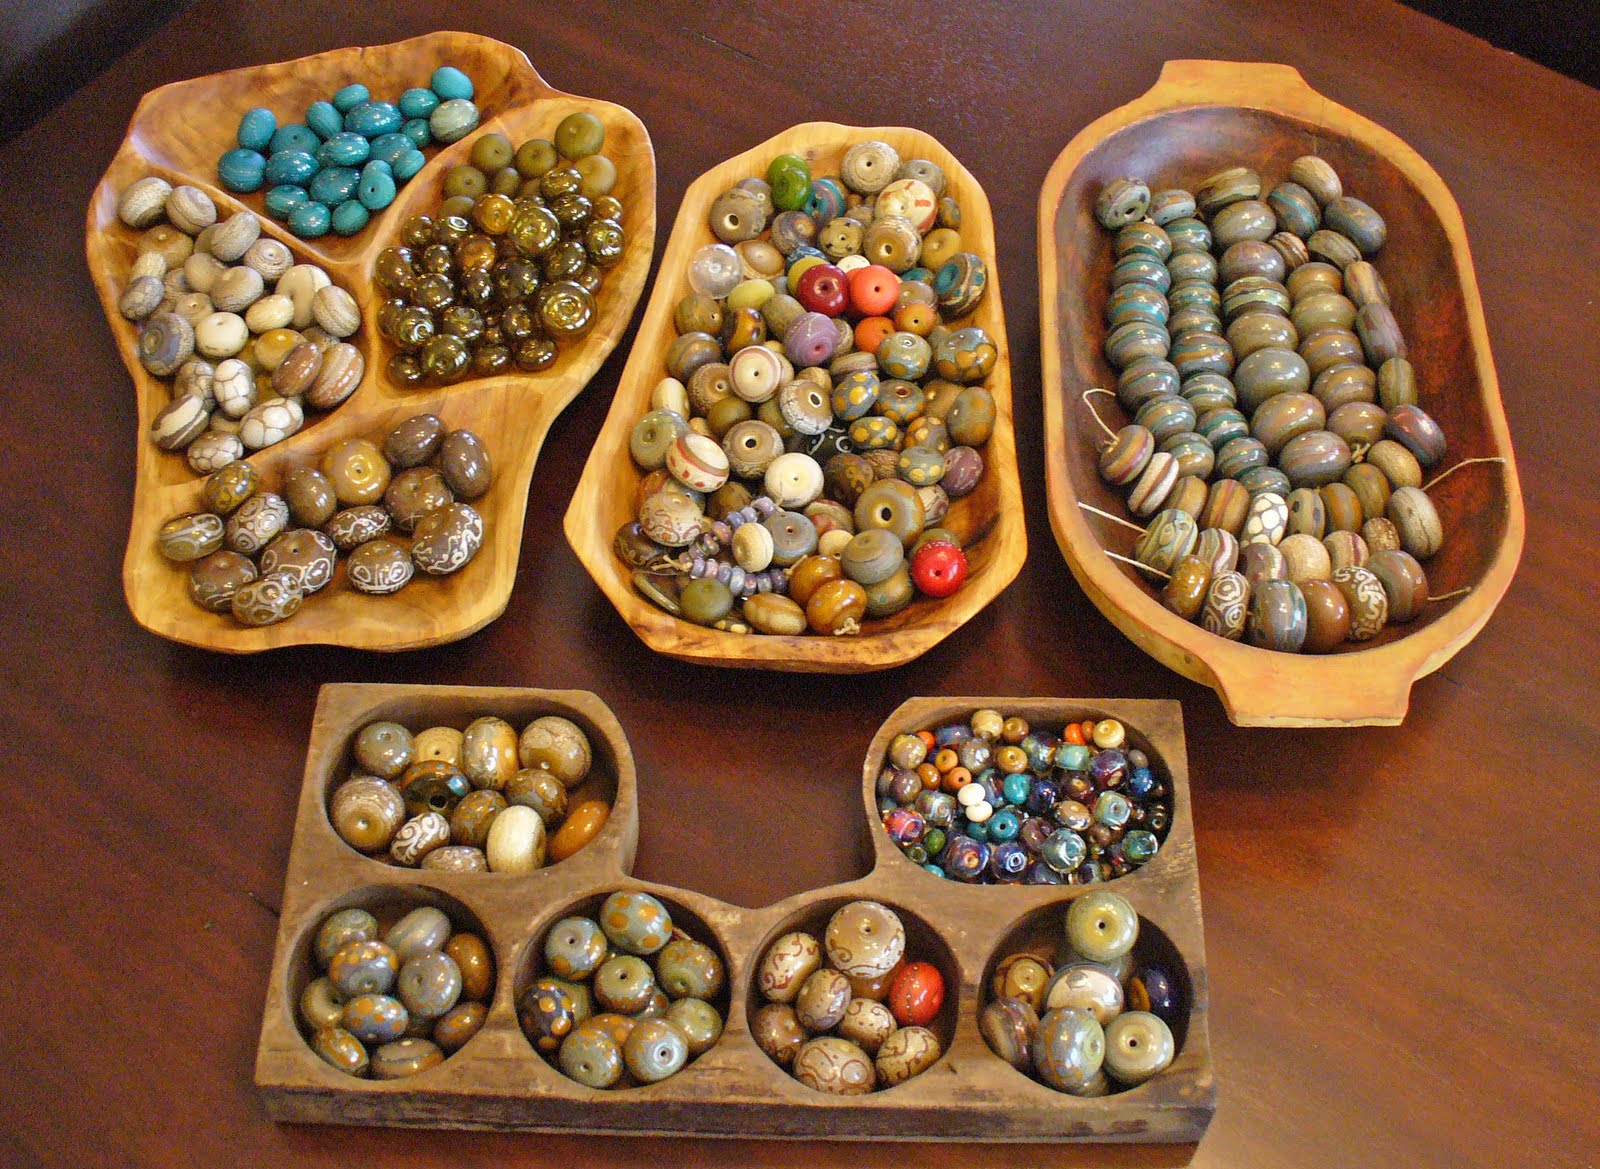
Bead Porn for BABE! 2010
Since BABE! 2010 is only a month away, it seemed like a good time to take stock of what I have and what still needs to be made. There is a LOT of etching that needs to be done- oy vey, that’s going to take a while. The first shot appeals more to me visually but the last two are just keeping it real since that’s what it normally looks like in the studio 😉


Looking forward to the show and getting to enjoy Cali again, even if it’s only briefly.. if you make it to the show, be sure to stop by and say hey.
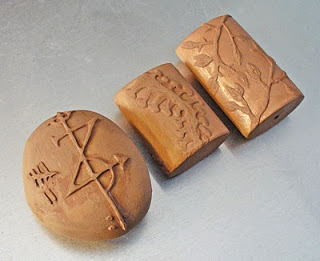
Post Firing- BC Hollow Forms
Just a quick shot of the fired bronzclay hollow forms- my free form number hollow bead on the right developed a few fine cracks and must have had a weak spot of the back since it has the most damage. It was fired on its side, so maybe I sanded it too much- can’t say as I really remember since the forms were made more than a year ago. 

I’d like to get a nice patina on them that is a little more permanent than what the firing medium gives. Any suggestions?
Gearing up for BABE! 2010
The blog has been woefully neglected (again) while I’m trying to get as much done as possible during my short spurts of free time, i.e. nap time. As my dad loved to say, “I’m busier than a one-legged man in an ass kicking contest.”
Not sure if the slip-painted pattern on the left is too weird- the inspiration came from two different sources: the grease trail in my frying pan and one design from a book of quilts. 
Oh, and these are some of the bronzclay hollow forms from more than a year ago that I’m finally getting around to using. Good thing they don’t go bad- although they’re hard as rocks to try and carve..hence, the slip painting.
Enamel Sampler and Do-Overs
The Thompson Enamel Sample Pack for Med. Temperature Medium Expansion arrived in the mail on Friday and I immediately wanted to play around since my first attempt more than a year ago was..weak, to say the least. 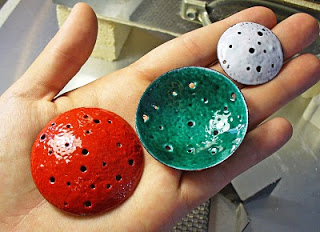
 I usually have a hard time visualizing units of measurements. These packets are each around .5 oz. , usually .6 or .7 to account for the baggie I presume. Now, if I would’ve known on the website that they were each 1/2 oz. – it wouldn’t have meant much to me other than telling me it’s less than one whole ounce. So this is for other people like me who like to SEE what a measurement looks like, not just reading it 🙂 Hope that helps.
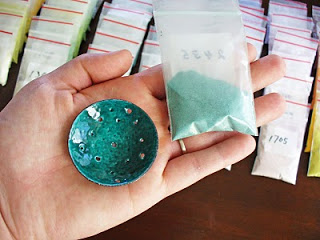
 My Turquoise pendant used .1 oz. Theoretically, I could make another 5 in this size before running thru my sample baggie- not bad, eh? The box w/ opaque and transparent enamel cost less than $90 w/ shipping. There are A LOT of colors- no, I haven’t counted yet..but I will.
 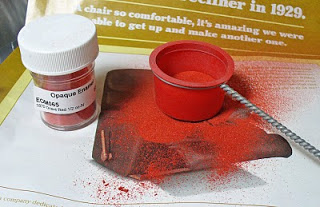 Oh, this red is so very luscious- Orient Red is one I’ll be reaching for quite often, no doubt.

 This is just the opaque colors, haven’t done the transparents yet..
Enameling on Copprclay is next, got some pieces and just need to clean them up. I’m currently cleaning and reorganizing my studio and will post pics of the space and some beads once it’s done.
Family and Cake
Hadn’t realized it’d been that long since blogging. Hubby’s deployed now and Z and I have been adjusting- mostly me, to tell the truth. Everything seems to take twice as long.. take our upcoming trip to see family.
We were supposed to leave today but was so wiped out from mowing our lawn yesterday in the scorching heat, I didn’t feel like shopping for food, loading the truck w/ our stuff AND the antique table and chairs afterwords..so, I didn’t- and now we leave early tomorrow morning.
Thank goodness for GPS and portable DVD players. How in the world did we get around before? It seems so long ago that we would actually use an atlas and an area map to figure out where to go. 
Z will have a belated 2nd B-day celebration with all of the cousins and get to eat cake to his heart’s content.
I haven’t forgotten about those who’ve emailed about beads- after returning I plan to work in more time at the torch, I’m so looking forward to it.
Riveting Jewelry
 Makes me want to try and do it, too. Etsy Treasury
Big Hole Beads
Being part of an online exchange usually stretches my boundaries and makes me try something new. This time the exchange is for big hole beads and since I never do anything the easy way, I decided to see how well I could encase some long big hole beads, these were made on 1/4″ mandrels. The last pic is the four I made with only the two on the top pic making the cut for possible inclusion for the exchange. The second bead cracked since I admired it for too long and the one on the far right has a sharp end. I was able to make these with my Electric Mandrel Spinner– there’s no way my wrists could have managed otherwise. 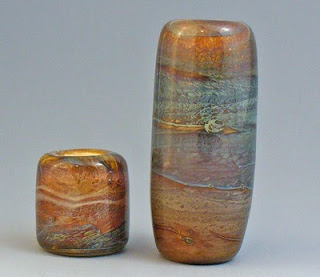 The short one is 14.5 mm long and the large one is 35 mm long or 1-1/4″.

I knew that thing would come in handy one day.
More Progress
Before LOS patina: Patina applied, think these will be beadcaps:
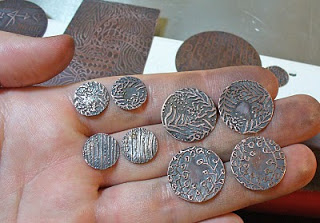 The patinaed copper plate/pendant, not sure what will become of this one:
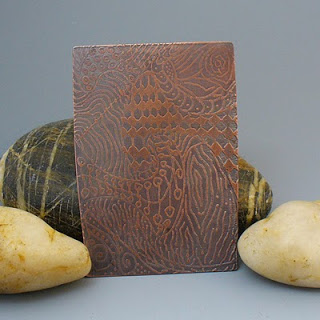 Is this one too…weird?
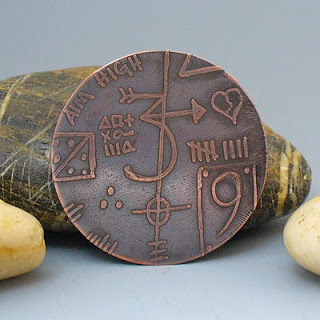
 It’s very reminiscent of the hollow form on the left, from a year ago.
Metal Etching WIP
 Apologies for the quick and dirty pic, wanted to have a step by step history for myself. Enjoyed doing my own version of Zentangles on some of the pieces. Depending on how these turn out, some may be used as bead caps on my hollows.
