My Mr. is home for some R&R, so this will be a quick post 🙂
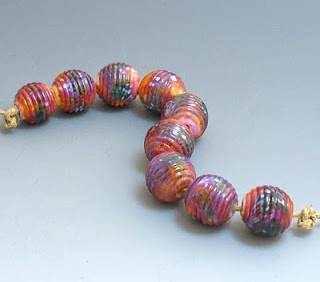
My first try w/ tumble etching was a big FAIL- never use the Harbor Freight grit sampler to etch beads. I ruined a whole bunch of hollow focals, maybe they can be saved when I get my sandblasting set-up ready to use. The two beads below are a few that etched well in around 8-10 hrs. The hollow fumed focals still have very tiny shiny spots from the crackling of fuming, I assume. The ribbed beads didn’t tumble etch well since the valleys stayed shiny while the ribs etched well. They are on deck for sandblasting. I’ll try and get some pics up for the visual peeps among us. 
wandering spirit designs
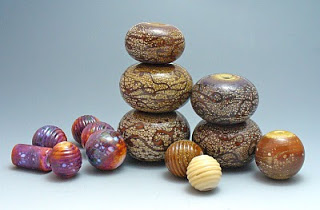
Pile of Hollow Big Hole Bead Lovlies
I hope I’m not the only one that loves these- still debating on whether to just core w/o beadcaps or do the whole she-bang w/ coring and double beadcaps. Sell them separately or in a set? Having a hard time making up my mind on this one..perhaps you can help me decide. 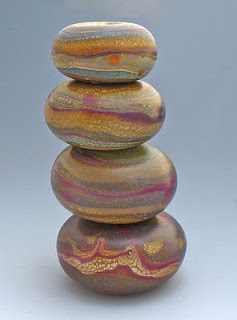

Z-99 Experimentations
Time has certainly flown during my absence of blogging. Didn’t mean to be gone and have the shop closed for so long- time moves differently when a spouse is deployed and the New Year wasn’t as big of a deal as his R&R coming up will be. I’ve been experimenting when it’s warm enough in the studio to fire up the torch, here are a few: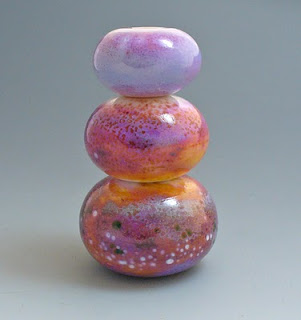

 The beads above are made w/ a hard to find glass- Z-99 Purple Rose Special. The Zimmerman family has stopped production and decided not to sell their glass recipes to the industry. It is a wonderful and reactive color, these beads were made on a base of Effetre White- yep, just white- w/ various frits and powders added.
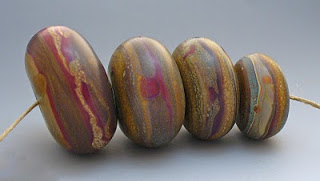
Not to worry, I’m still in love w/ making my organic hollows. Here is a set that hasn’t been etched yet: Hope everyone had a wonderful holiday season and shared it with the ones you love. This gal knows better than to make any resolutions, but perhaps we’ll be seeing each other a little more frequently at this space 🙂
BABE! 2010 and Beads
 BABE! was a hit and I’m looking forward to next year’s show. Even w/ travel expenses and shipping my work, it was still worthwhile. How lovely it was to see repeat customers and getting to meet new smiling faces.
I ran out of business cards before lunch on Sunday and now know to hold a few back so if there is some who like to grab multiples, they won’t take all my stack.
The booth shots were, unfortunately, quickly taken on Sunday since I forgot my camera on Saturday when my table was freshly arranged and all my beads were there. These show a table considerably picked over.


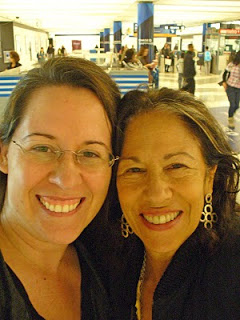
 I also got to spend some time with my dear friend, Ann– we spent a day in SF and shopped at the Ferry Building w/ lunch at the Slanted Door. Yum!
This was just a quick shot of us at the BART station before I had to dash back to Mary’s house to drive up to Oakland and get set-up before the show.
 Now to relax and decompress for a day or two and get ready for the holiday travels.
Now to relax and decompress for a day or two and get ready for the holiday travels.
The work that didn’t sell will be going up shortly on Etsy– as soon as it gets to me by mail. Just keep a look out on the blog and I’ll update before adding to the shop.
Etching and Enameling
Etching on copper is a new concentration and I seem to be drawn to a fern/kelp motif. These etched discs are in the process of getting enameled and if I have time before the show (eeek!) etching the enamel so it’s not so shiny may be in order.  Apologies for the supadupa shiny copper, this is just a quick shot to show my progress.
 Those little round discs on the left are part of trying to figure out what color to use- so many choices. The counter enamel is now on the back side of the discs and after I clean the firescale off the front, they’ll be ready for a couple more layers of enamel.
Perhaps I’ll see you at BABE? It’s the 13th and 14th- next weekend! Come by my booth and say hey if you’re able to make it. 🙂
A Happy Accident
My first try w/ Fast fire Bronzclay seems to be a success. To be completely honest, this is my second firing of this load since I accidentally used the acid-washed carbon rather than the coconut shell. Also bumping up the firing temp to 1545 rather than 1525 seemed to help, too.
The colors were quite a surprise! I figured they would be dull and maybe slightly gold-toned. The first ones out of the firing pan (the 8 bead caps near the 5 o’clock position) were not too colorful, but still have some interesting patterns on them. It wasn’t until I swirled my stainless steel hemostat around in the medium trying to fish some out -with my respirator on- that I noticed a flash of color change.  The bright orange was a complete shock since I’ve never gotten such vivid color from the coconut shell carbon. Another thing that seemed to help was almost fishing it out and then re-submerging it in the carbon. That’s how I got some of the raku looking pieces. The far left are the ones that were on the very bottom and so they stayed in the longest.
 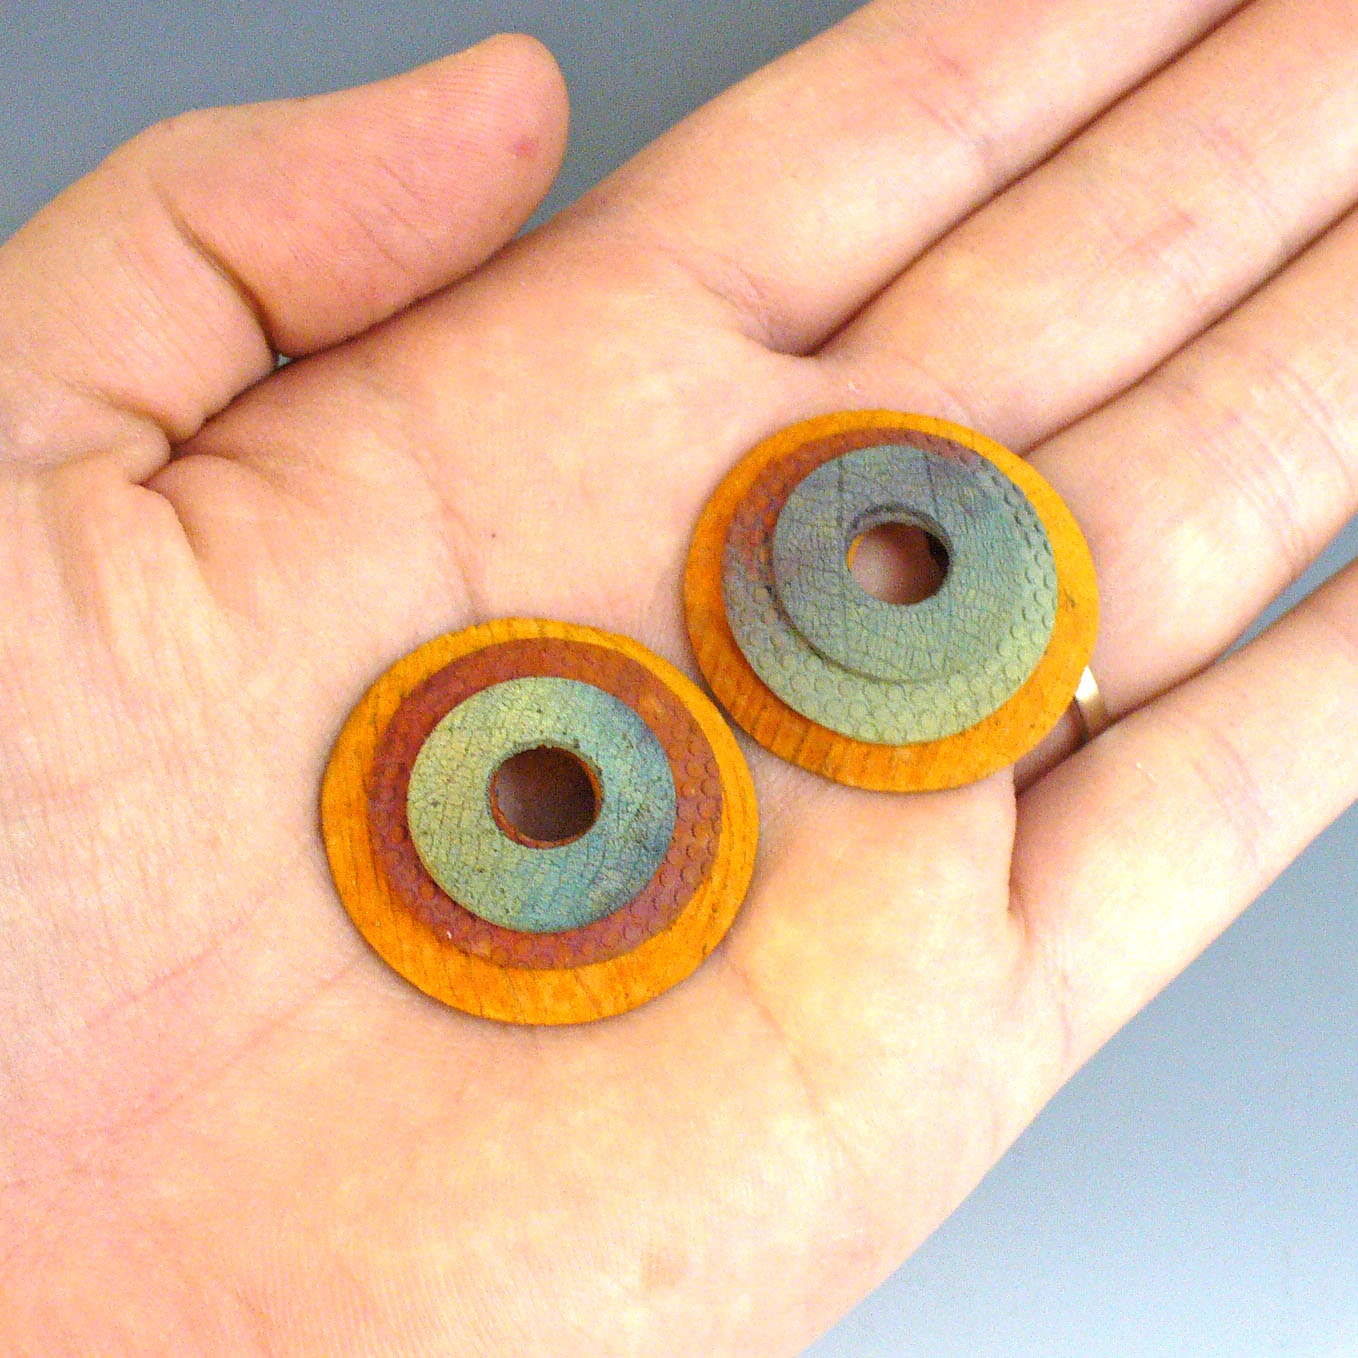 In case anyone is interested- I fired at full ramp to 1545* holding for two hours. I had my pan up on kiln posts, and the lid was not fully covering the container. After it was done firing, I removed the kiln lid around 1300* and left the pan- still covered w/ the lid- in the kiln until the temp read ~230-250. Can’t remember the exact number now, should’ve written it down. After removing it carefully from the kiln, I searched for my hemostats and started digging for the bead caps soon after. Et voilà!
Beads and 100 Followers :)
This past week has been a whirlwind of travel, meeting new people, and trying to get ready for the show next month. Just noticed that I have 100 Followers for this blog!- thanks for your interest and here’s to showing you work that continues to grab your attention. 
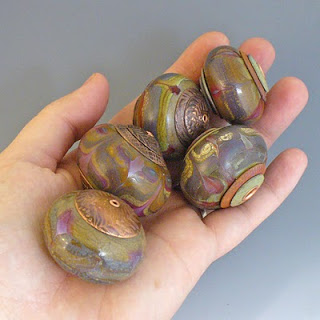
 Met up w/ some wonderful beady people over the weekend and look forward to our next Carolina Firefiend meeting. One member generously let me borrow her Jim Moore press since my Impress Bead Liner was too slim to fit my big beads inside to core and cap. (these three beads above are a few I’ve done so far, before running out of bead caps) Another is going to tumble etch some of my hollows to see how it compares to my usual acid etch method.
Thank goodness my wonderful cousin is nearby and willing to babysit my little man, making it possible for me to go to these meetings.
Bead Porn for BABE! 2010
Since BABE! 2010 is only a month away, it seemed like a good time to take stock of what I have and what still needs to be made. There is a LOT of etching that needs to be done- oy vey, that’s going to take a while. The first shot appeals more to me visually but the last two are just keeping it real since that’s what it normally looks like in the studio 😉
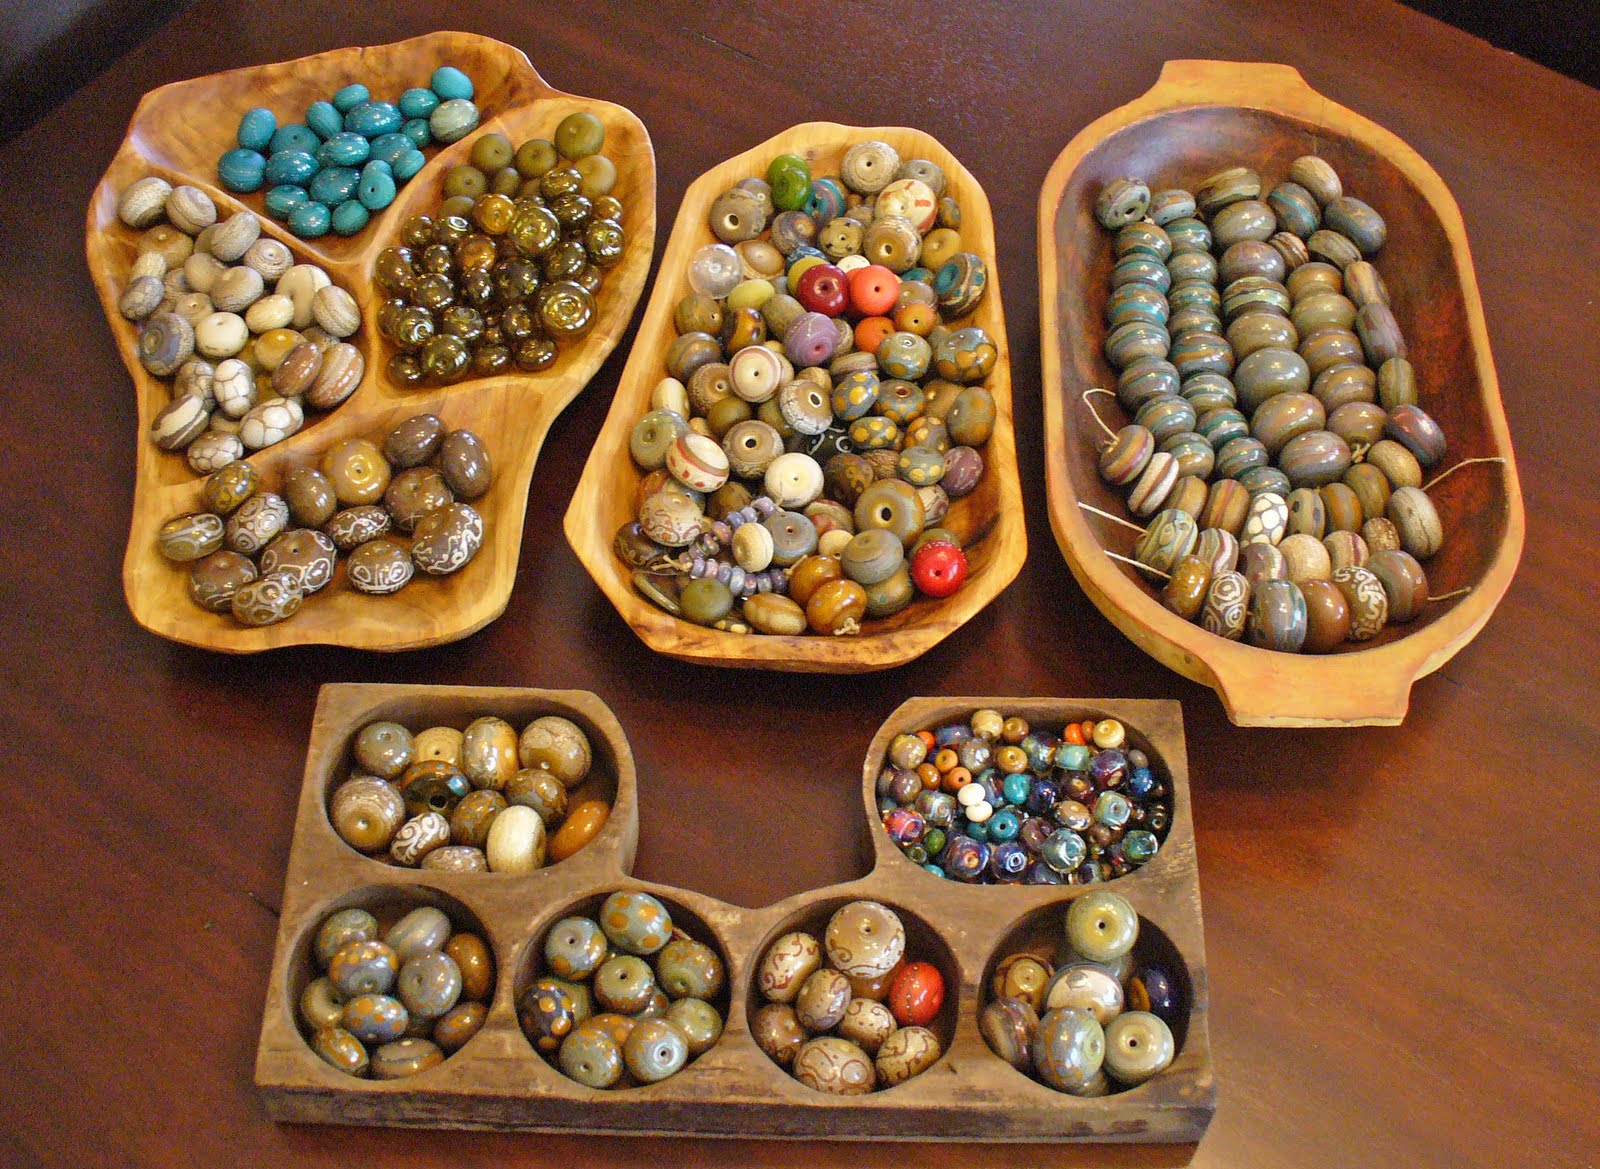


Looking forward to the show and getting to enjoy Cali again, even if it’s only briefly.. if you make it to the show, be sure to stop by and say hey.
Post Firing- BC Hollow Forms
Just a quick shot of the fired bronzclay hollow forms- my free form number hollow bead on the right developed a few fine cracks and must have had a weak spot of the back since it has the most damage. It was fired on its side, so maybe I sanded it too much- can’t say as I really remember since the forms were made more than a year ago. 

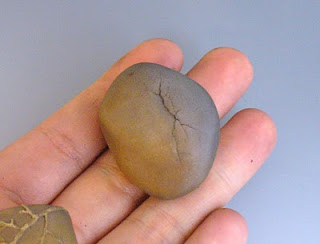
I’d like to get a nice patina on them that is a little more permanent than what the firing medium gives. Any suggestions?
Gearing up for BABE! 2010
The blog has been woefully neglected (again) while I’m trying to get as much done as possible during my short spurts of free time, i.e. nap time. As my dad loved to say, “I’m busier than a one-legged man in an ass kicking contest.”
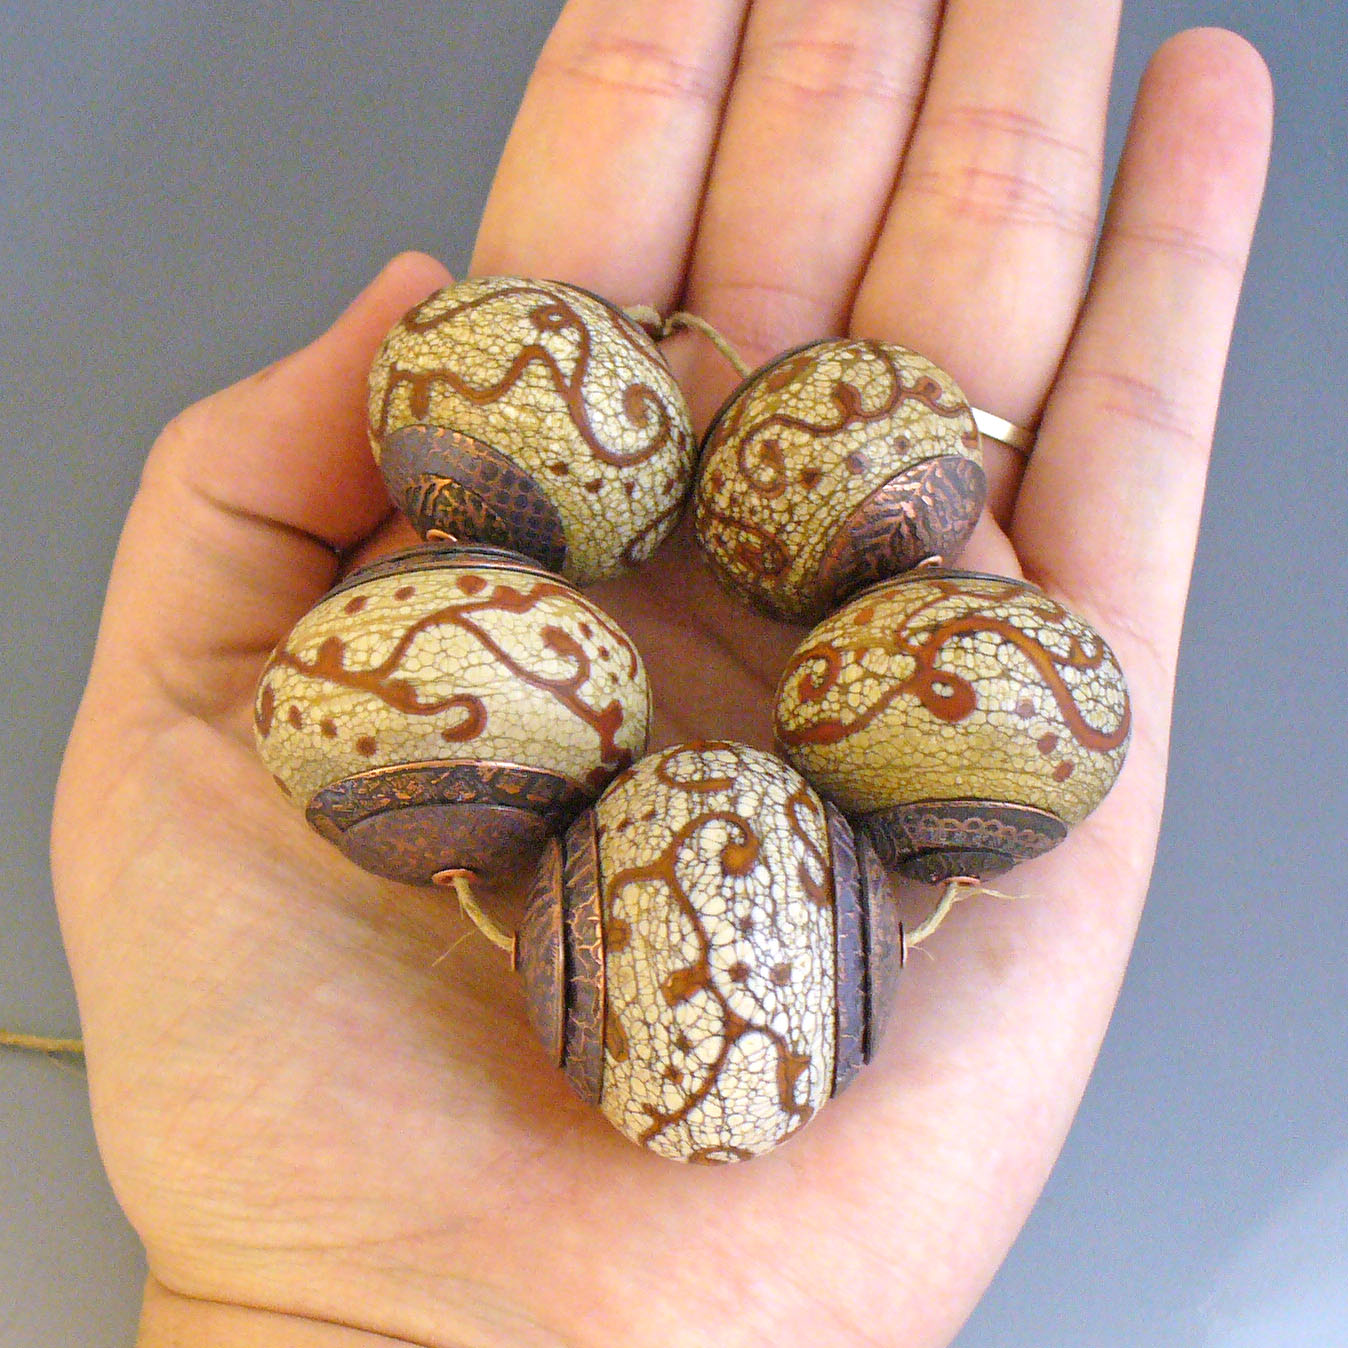
Not sure if the slip-painted pattern on the left is too weird- the inspiration came from two different sources: the grease trail in my frying pan and one design from a book of quilts. 
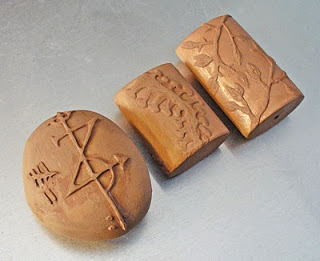
Oh, and these are some of the bronzclay hollow forms from more than a year ago that I’m finally getting around to using. Good thing they don’t go bad- although they’re hard as rocks to try and carve..hence, the slip painting.
