My mind is a sometimes dizzy place, with way too many thoughts bouncing around and then going off on tangents..which then forces me to work backwards towards my original thought similar to that guy in Memoir.
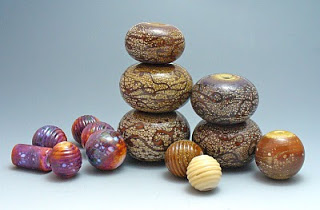
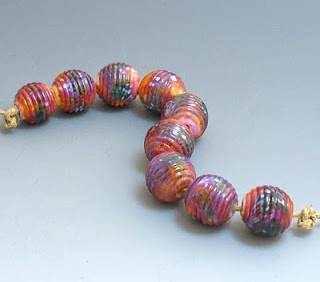
This idea of ‘leveling up’ (Scott Pilgrim reference, sorry lol) has been on my mind and using raking w/ stringers has been something on the back burner for a while now.
 I finally decided, “what can it hurt?”, and just jumped in w/ no planning. Turns out, for me at least, that every d’oh! moment eventually leads to improving my technique. The first d’oh! happened when I dropped one of my brass micro shapers on the concrete, and wouldn’t you know it, it was the supa sharp pointy tip that hit the concrete and caused a slight kink on the end. Which worked great at raking the stringers today!
The next time was when I blew a hole out on a hollow big hole bead and I was determined not to chuck it since I’d already spent 20 min. making it. Once I patched the hole, it had an interesting raked edge that my squirrely brain stored as an idea for later on. There’s been a few other instances but I don’t want to bore you or me listing them all.
While the execution of the idea is still a little rough, perseverance will now be my friend until I’m satisfied.
I’ll try and get pics tomorrow after they’re done tumbling.


 I rediscovered

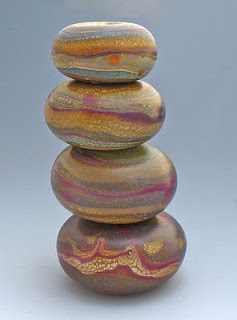

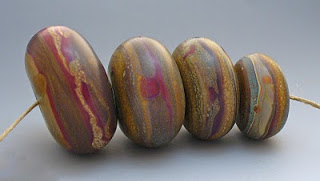

 The beads above are made w/ a hard to find glass- Z-99 Purple Rose Special. The Zimmerman family has stopped production and decided not to sell their glass recipes to the industry. It is a wonderful and reactive color, these beads were made on a base of
  Hope everyone had a wonderful holiday season and shared it with the ones you love. This gal knows better than to make any resolutions, but perhaps we’ll be seeing each other a little more frequently at this space 🙂
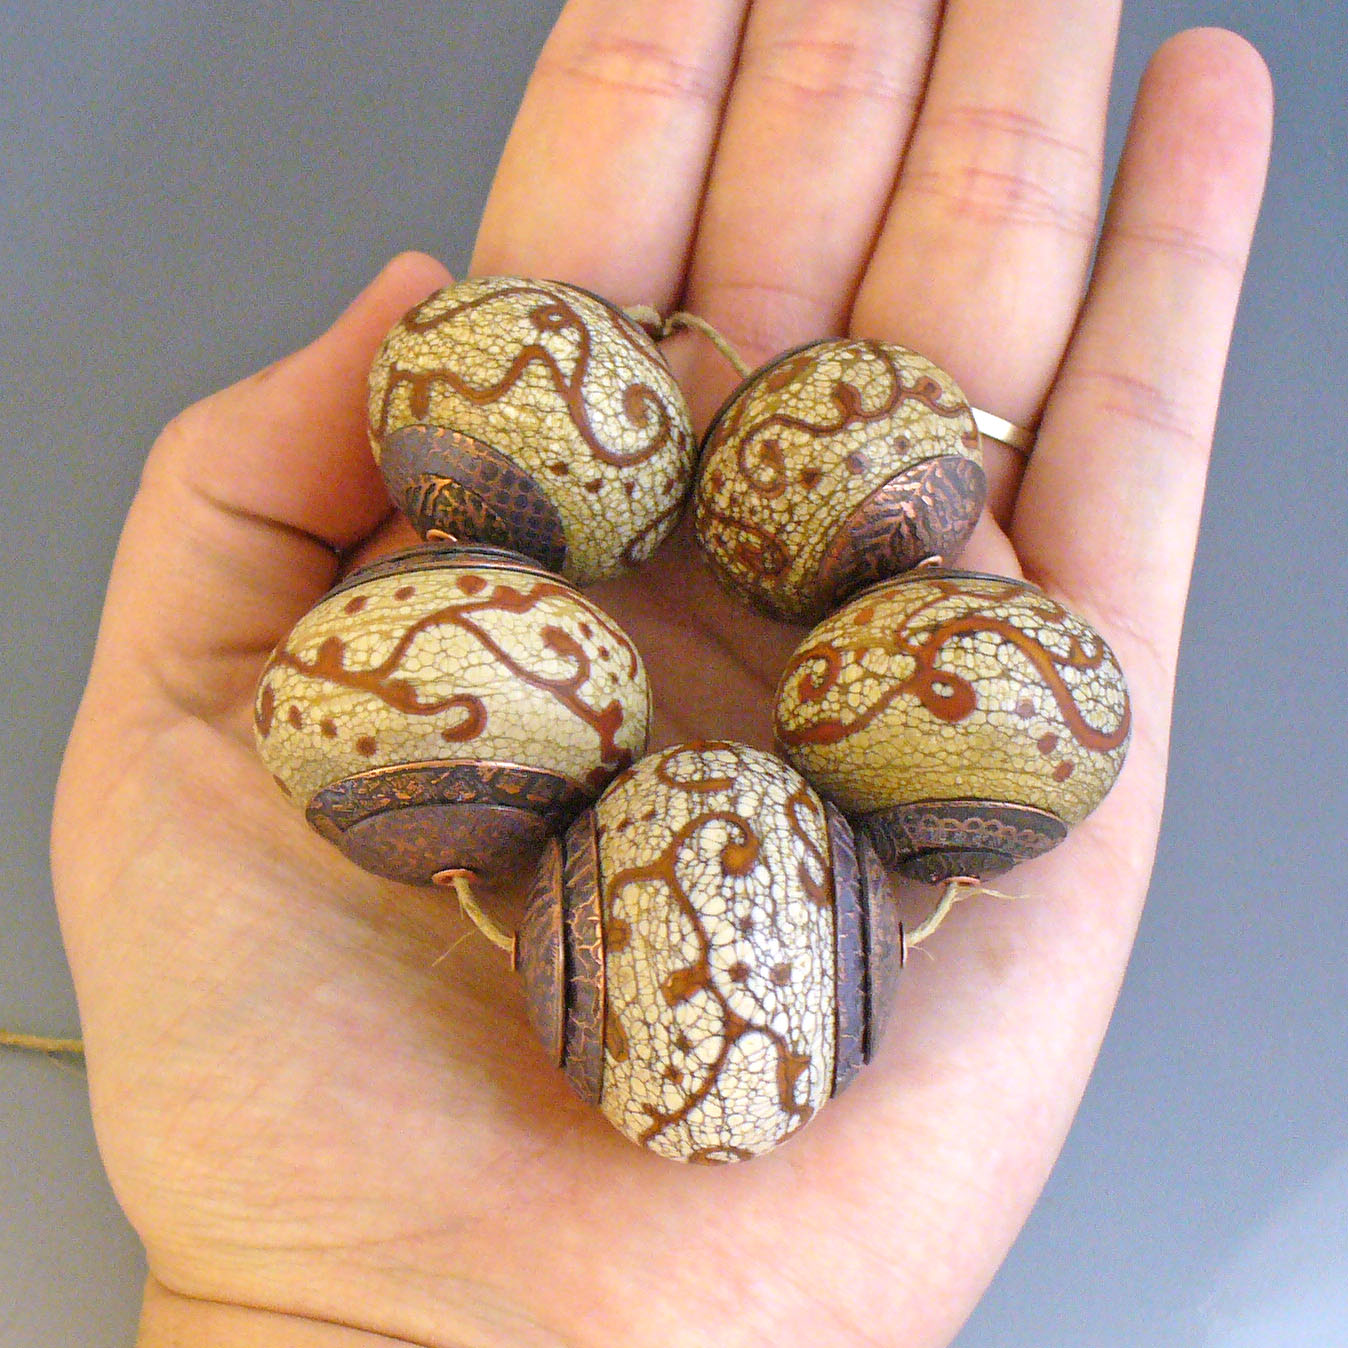
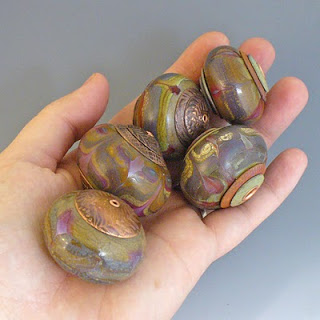 BABE! was a hit and I’m looking forward to next year’s show. Even w/ travel expenses and shipping my work, it was still worthwhile. How lovely it was to see repeat customers and getting to meet new smiling faces.

 I also got to spend some time with my dear friend,
  Now to relax and decompress for a day or two and get ready for the holiday travels.
 Apologies for the supadupa shiny copper, this is just a quick shot to show my progress.
 Those little round discs on the left are part of trying to figure out what color to use- so many choices. The counter enamel is now on the back side of the discs and after I clean the firescale off the front, they’ll be ready for a couple more layers of enamel.
  The bright orange was a complete shock since I’ve never gotten such vivid color from the coconut shell carbon. Another thing that seemed to help was almost fishing it out and then re-submerging it in the carbon. That’s how I got some of the raku looking pieces. The far left are the ones that were on the very bottom and so they stayed in the longest.
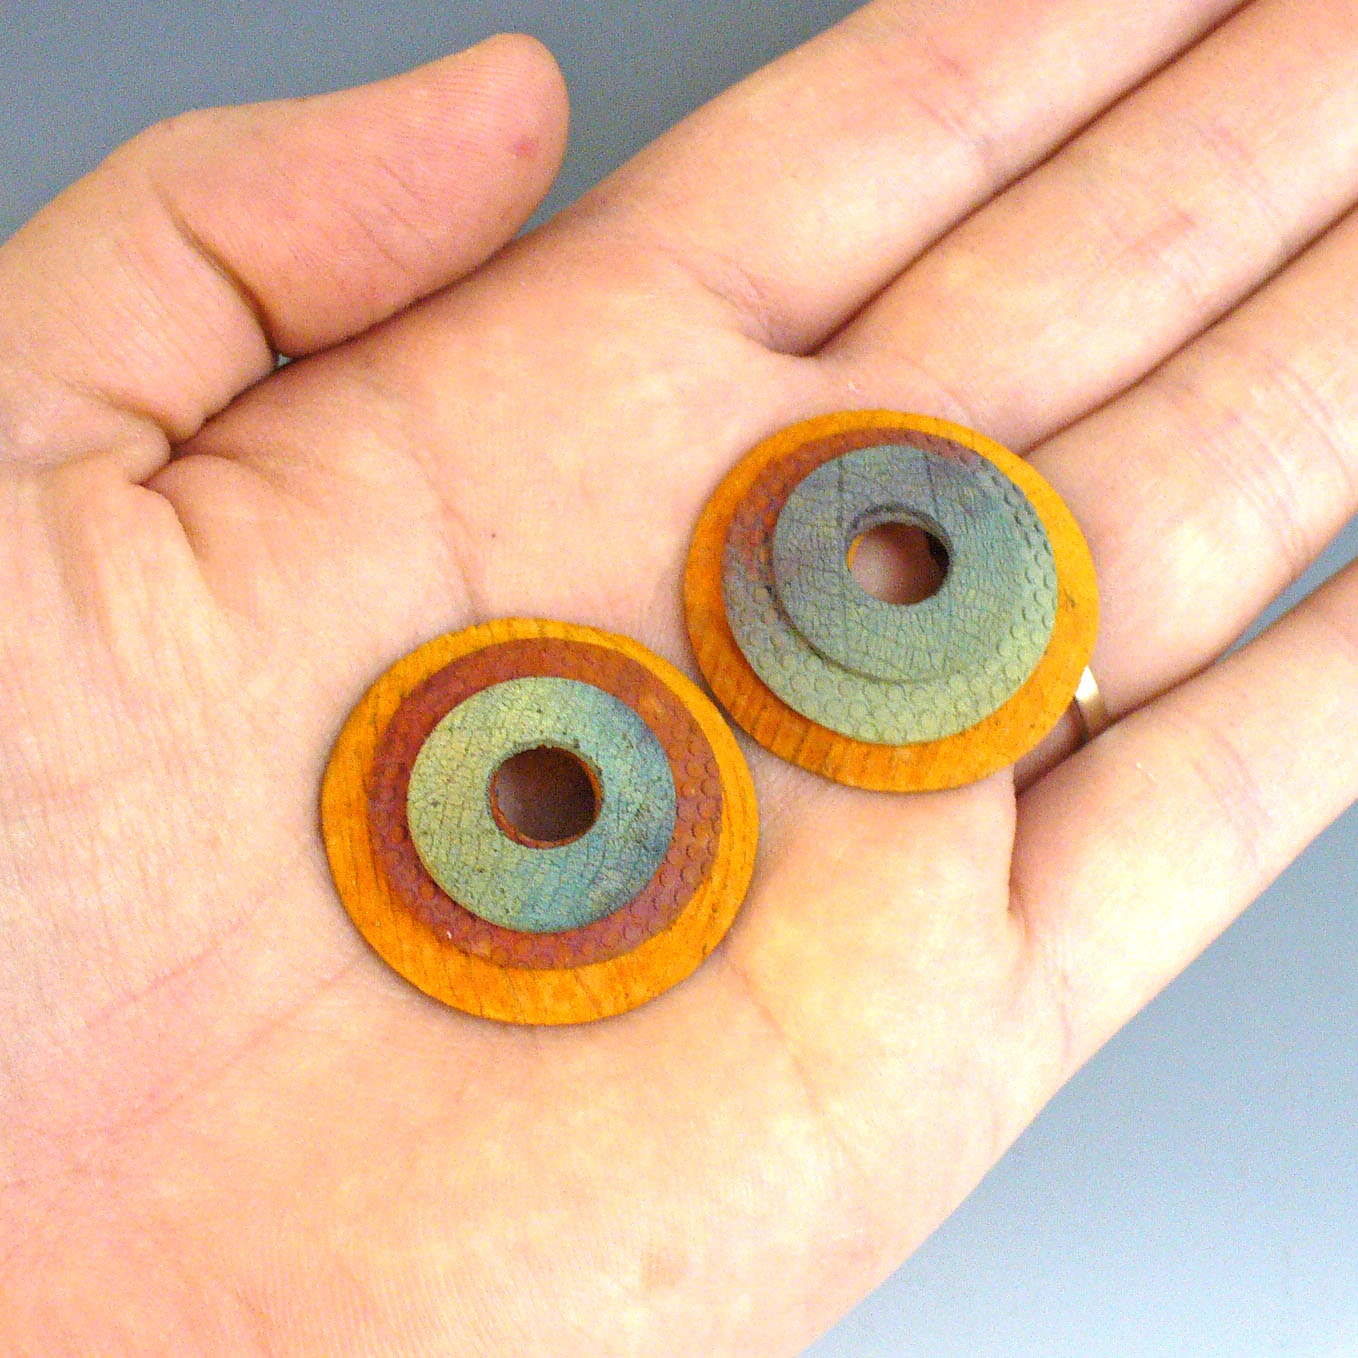


 The larger images can be seen on my flickr page.